Conquering Maliketh the Black Blade: A Comprehensive Guide for Elden Ring's Daunting Finale
Defeating Elden Ring's Maliketh, the Black Blade, is a pivotal endgame challenge requiring precise preparation and the crucial Blasphemous Claw.
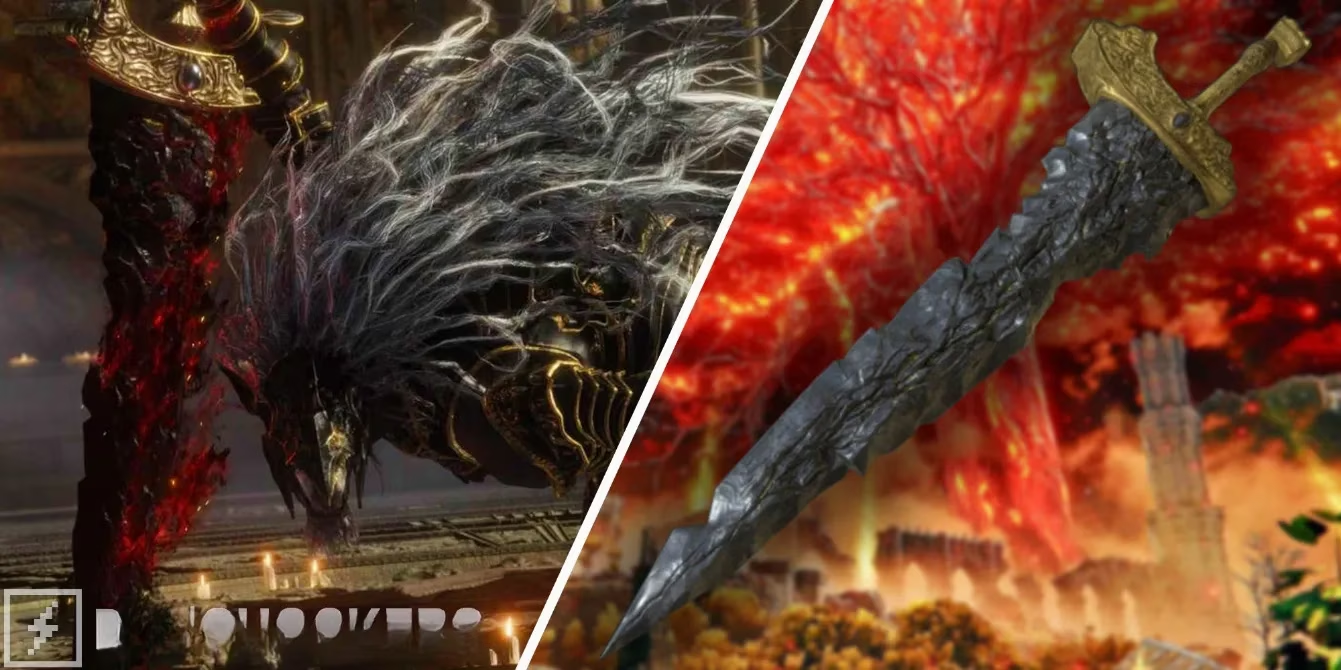
Elden Ring's pantheon of formidable foes is legendary, but few inspire the same mix of awe and dread as Maliketh, the Black Blade. As the guardian of Destined Death and a pivotal figure in the game's concluding chapters, this two-phase beast presents a climactic challenge that separates the determined Tarnished from the rest. Emerging in the Crumbling Farum Azula after the Erdtree's fiery fate, defeating Maliketh is not just a battle; it's a narrative turning point that irrevocably alters the Royal Capital of Leyndell. For those who persevere, the spoils are substantial: a hefty sum of 220,000 Runes and the coveted Remembrance of the Black Blade, which can be exchanged for his signature armaments or potent incantations. As of 2026, the strategies for overcoming this relentless adversary remain a cornerstone of advanced player knowledge, demanding precise execution and thorough preparation.
🛡️ Essential Pre-Battle Preparations
Before even considering the ascent to Crumbling Farum Azula, a Tarnished must be adequately prepared. This confrontation is designed for end-game characters, so aiming for Level 130-150 with fully upgraded armaments is strongly advised. Given Maliketh's aggressive, gap-closing nature, traditional ranged combat tactics are largely ineffective, making a robust melee build the preferred approach.
Crucial Gear Checklist:
-
A Reliable Shield: For mitigating damage during his relentless assaults.
-
Spirit Ash Summons: A high-level spirit like Mimic Tear or Black Knife Tiche is invaluable for drawing aggro and creating openings.
-
The Blasphemous Claw: This is the single most important tool for this fight. Obtained through Knight Bernahl's questline in Farum Azula, it is specifically designed to parry Maliketh's most devastating attacks in his second phase.
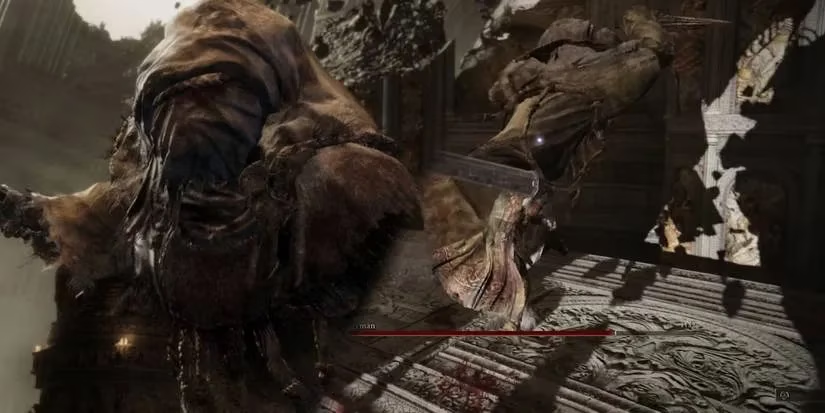
⚔️ Phase One: The Beast Clergyman
The battle commences against a familiar foe: the Beast Clergyman, an enlarged and enraged version of the character encountered during Gurranq's quest. While formidable, this form is more susceptible to damage.
Core Strategies for the First Phase:
| Tactic | Description | Key Benefit |
|---|---|---|
| Aggressive Positioning | Stay close and circle behind him. Most of his dagger swipes are forward-facing, leaving his back exposed. | Maximizes damage windows while minimizing risk. |
| Strategic Evasion | Roll into his attacks, not away or to the side. Time your rolls to pass underneath his swings as they begin. | Places you in an optimal counter-attack position. |
| Environmental Awareness | Watch for ground cracks. When he prepares a powerful slam, create maximum distance to avoid the resulting rock shards. | Prevents massive, avoidable area-of-effect damage. |
Patience is paramount. His attacks are swift but often lengthy. Learning the visual cues for his combos allows for precise dodging and immediate retaliation. The goal is to methodically whittle down his health bar to the halfway point, triggering the terrifying transformation.
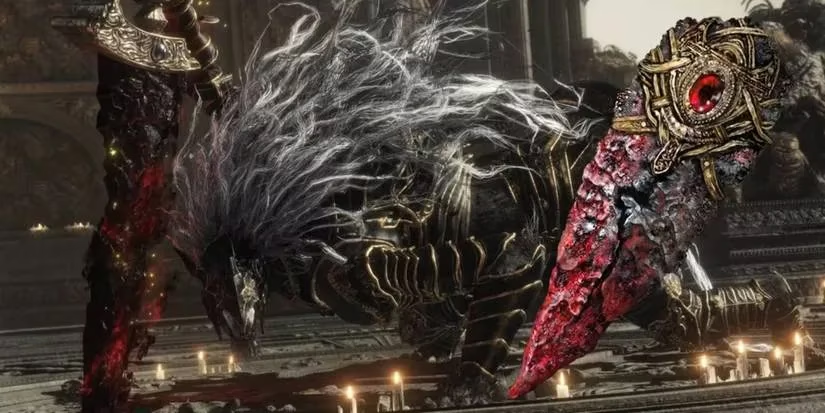
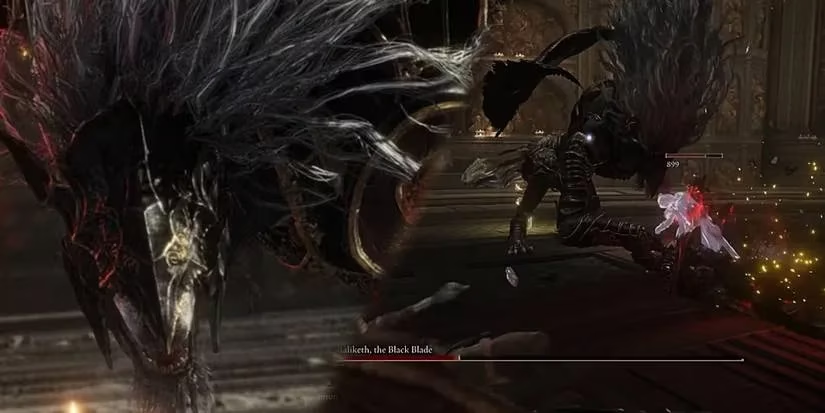
🗡️ Phase Two: Maliketh, the Black Blade
Upon reaching 50% health, the Clergyman sheds his guise, revealing the true terror: Maliketh, the Black Blade. This phase is a dramatic escalation in speed, mobility, and deadliness. He becomes a whirlwind of dark energy, leaping across the arena with dynamic aerial maneuvers and unleashing projectiles of destined death that inflict health degeneration over time.
Advanced Tactics for the Final Phase:
-
Constant Vigilance & Healing: His attacks apply a stacking health-reduction effect. Never let your health linger in a degraded state; heal proactively after taking hits to counter the ticking damage. 🩹
-
Masterful Dodging: His movement is erratic. Key attacks to watch for include:
-
Pillar Leap: He'll jump onto a pillar and fire a volley of red projectiles. Dodge laterally to avoid the tracking shots.
-
Spinning Slams: A series of ground-shattering slams. The dodge timing is tight; roll through the shockwaves.
-
Destined Death Slash: A wide, arcing slash followed by a projectile wave. This is often the cue for the Blasphemous Claw.
-
-
Utilizing the Blasphemous Claw: This item is your greatest equalizer. When Maliketh's blade glows with a golden aura during certain powerful attacks (most notably his aerial lunges), activate the claw to parry. A successful parry will stagger him, creating a lengthy window for critical hits. Practice and perfect timing are non-negotiable.
💎 Victory and Rewards
Overcoming this monumental challenge is a feat of skill and perseverance. Your reward is not just progression, but powerful tools:
-
220,000 Runes to fuel your final level-ups.
-
Remembrance of the Black Blade. Take this to Enia at the Roundtable Hold to acquire one of two legendary items:
-
🔥 Black Blade Incantation: A powerful ranged incantation that throws a red blade, dealing damage over time.
-
⚔️ Maliketh's Black Blade: A colossal sword whose weapon skill replicates one of his deadly projectile attacks.
-
In conclusion, the duel with Maliketh is a masterclass in Elden Ring's demanding combat philosophy. It synthesizes everything learned: environmental awareness, precise evasion, aggressive positioning, and the strategic use of key items. By entering the arena at the recommended level, wielding the Blasphemous Claw with confidence, and applying these phase-specific strategies, even the most daunting of Marika's shadows can be felled. The path to becoming Elden Lord is paved with such triumphs.