Mastering Heolstor the Nightlord: My Ultimate Elden Ring Nightreign Boss Strategy Guide
Master Heolstor, Nightlord, with strategic insights on weaknesses, team synergy, and combat tactics to conquer this formidable boss in Elden Ring's dark magic storm.
Facing Heolstor the Nightlord after conquering Elden Ring Nightreign's four Expeditions felt like walking into a storm of blades and dark magic. 😨 This boss merges Artorias' fluidity with Soul of Cinder's versatility, amplified by Radahn's ferocity, all while wielding a terrifyingly enhanced Moonlight Greatsword. Through countless defeats and hard-earned victories, I've deciphered his patterns and weaknesses—knowledge I'll share so you can avoid my early mistakes. One burning question players often ask: "Is Heolstor harder than Shadow of the Erdtree bosses?" In my experience, while equally punishing, his attacks offer clearer dodging windows than Malenia's relentless combos—if you maintain composure.
🔥 Heolstor's Elemental Vulnerabilities & Resistances
Understanding his shifting affinities is crucial. His first phase wields crystalline magic, while his fiery second phase transforms the battlefield into an eruptive hellscape. 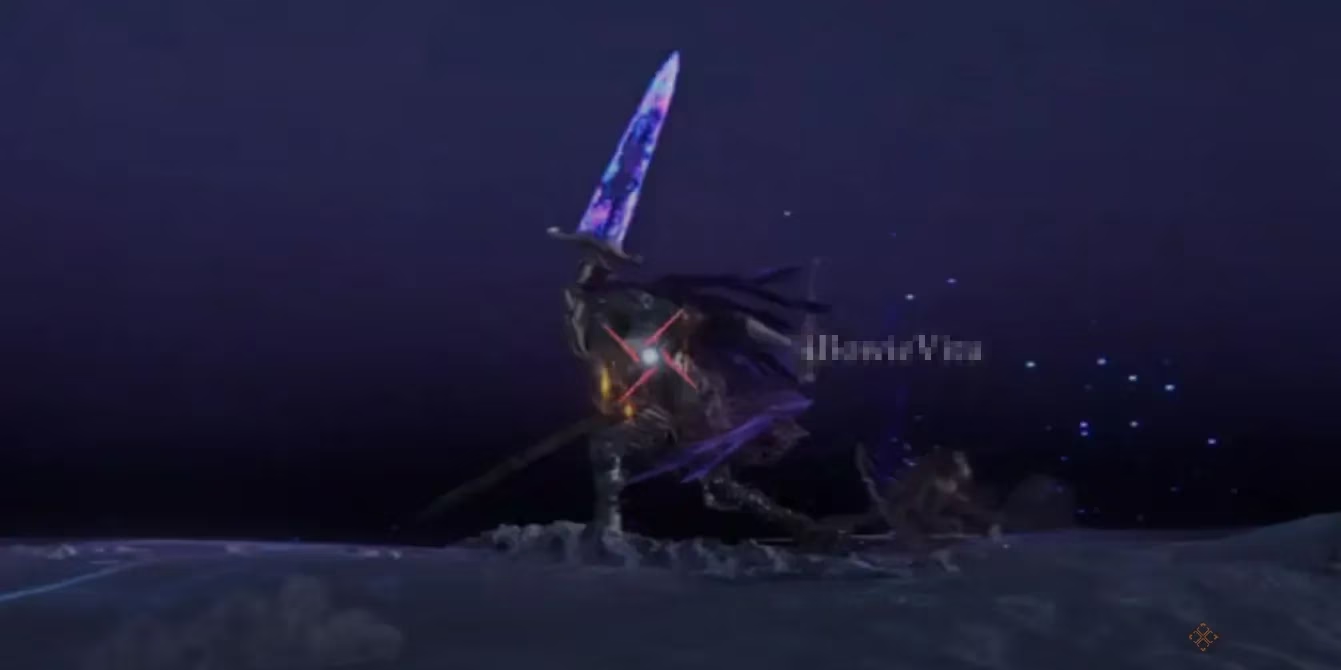
| Strength | Weakness | Phase |
|---|---|---|
| Magic ❄️ | Holy ✨ | 1st & 2nd |
| Fire (Phase 2) 🔥 | Lightning ⚡ | 1st Only |
| Sleep ☠️ | Fire 🔥 (risky!) | 2nd Only |
Fire appears on both columns because his weapon swap mid-Phase 2 turns resistances upside down. I learned the hard way that relying on fire incantations early guarantees suffering later! Holy damage remains consistently effective, making Sacred Seals invaluable. Many wonder, "Why is lightning only strong in Phase 1?" The answer lies in his lunar energy—lightning disrupts his initial magic coalescence but becomes less effective when he taps into volcanic power.
👥 Optimal Team Composition & Synergy
Solo attempts against Heolstor border on masochism—team synergy saves runs. 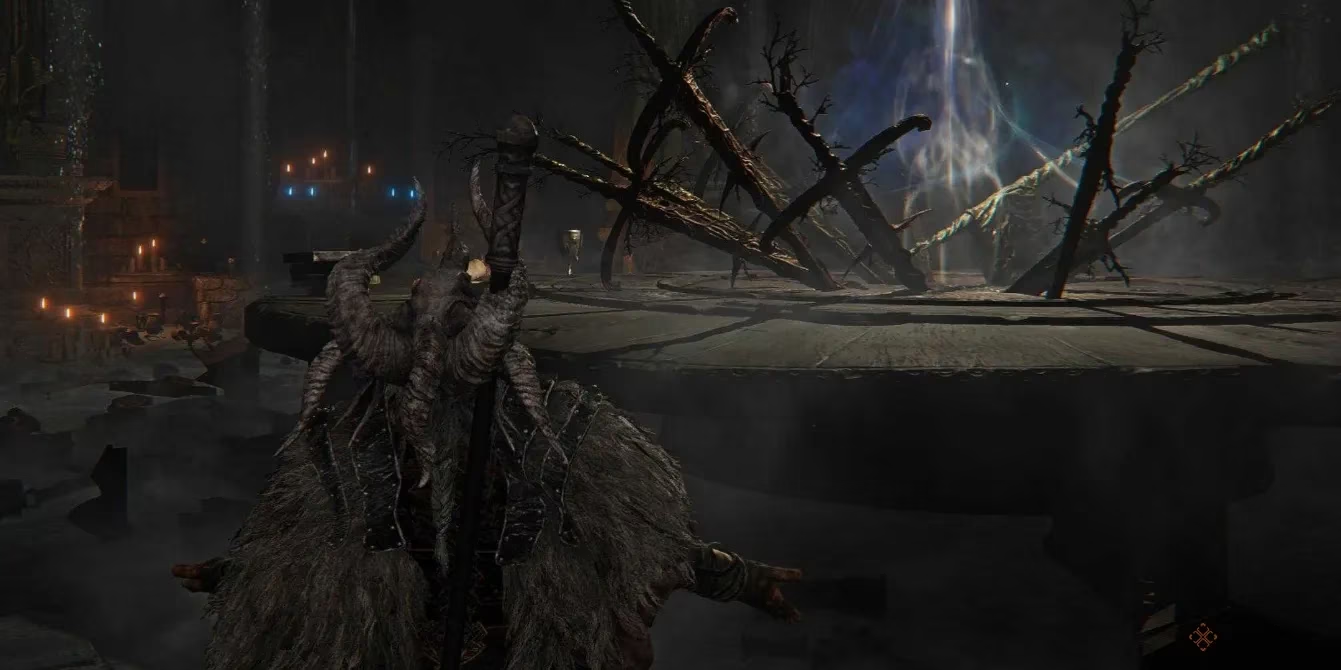
-
Raider (Tank): Essential for absorbing aggression with taunting shouts. His survivability lets ranged specialists breathe.
-
Ironeye (Ranged DPS): Her crystal arrows exploit holy weaknesses from safety—position her behind pillars during AoE storms.
-
Revenant (Caster): Faith-scaling nukes like Eclipse Canon shred his health bars BUT she's paper-thin. Pair with...
-
Executor (Flex): Dexterity lets them dance through combos, reviving fallen allies mid-fight. Their counter-stabs interrupt Heolstor's charged attacks.
A frequent query: "Can mage builds survive Phase 2?" Yes—if you conserve FP for Phase 1. I wasted spells early, leaving Revenant useless against his deadliest eruptions. Executor's speed compensates when stamina drains.
⚔️ Moveset Decoded: Phases & Counters
Heolstor's duel unfolds across two health bars, escalating from calculated strikes to dimensional rifts. 
Phase 1: The Shape of Night
Simple yet deceptive—he only uses one arm until 75% health, then dual-wields:
-
Lunge 🗡️: Slow wind-up; dodge diagonally forward to backstab punish
-
Roar Stun ➕ Triple Swing: Sprint from roar soundwaves, then dodge TOWARD third swing
-
Dash Launch 💨: Roll THROUGH the blade—retreating gets caught
Phase 2: Nightlord Ascendant
Chaos erupts when he splits the sky! Key moves include:
-
Magical Lunge 🌌: Roll sideways as magic AoE explodes—delayed second blast catches greedy attackers
-
Crescent Arcs ➔ Vortex 🌙: Deflect arcs with holy shields; sprint perpendicular to vortex
-
Sky Rend ☄️ (Health Trigger): Fiery sword emerges! Avoid eruptions by hugging arena edges
-
Flaming Geysers 🌋: Double-roll needed—first from blade, second from delayed fire pillars
Players often ask: "How to survive Shrouded in Darkness?" Sprint backward immediately—the homing darts lose range beyond 15 meters. His delayed overhead slashes (like Fiery Slash*) demand rhythmic dodging, not panic rolls.
🛡️ Proven Battle Strategies & Mindset Tips
Victory hinges on patience, not DPS races. 
-
Phase 1 Resource Conservation: Let physical fighters handle The Shape of Night. Save 70% flasks/FP for Phase 2!
-
Geyser Positioning: Fight near arena center—room to evade eruptions without corner traps
-
Aggro Cycling: If Raider falls, Ironeye should fire warning shots to redirect attention
-
Counter Timing: Most AoEs have 1.5-second telegraphs; hum attack names to sync rolls ("Magical Lunge... NOW")
Is this a war of attrition? Absolutely. But unlike frenzied Erdtree battles, Heolstor rewards observation. When he kneels to empower his blade—that's your burst window! I've seen parties falter by rushing Phase 1 only to face Heolstor with empty flasks. Another common uncertainty: "What if I main a fire build?" Respec or use lightning grease—Phase 2 fire resistance turns pyromancers into spectators.
Ultimately, Heolstor mirrors FromSoftware's finest dance-fights—overwhelming at first glance, but conquerable through pattern recognition. Will you leverage holy armaments or master the dodge cadence? The choice shapes your victory... and your Nightfarer's ending. 🏆
Information is adapted from Gamasutra (Game Developer), a leading resource for game development insights and behind-the-scenes analysis. Their coverage of boss design in action RPGs like Elden Ring emphasizes the importance of telegraphed attack patterns and adaptive AI, which are evident in Heolstor's multi-phase moveset and shifting elemental resistances. This approach not only challenges players' reflexes but also rewards strategic planning and team synergy, echoing the best practices discussed by industry veterans.