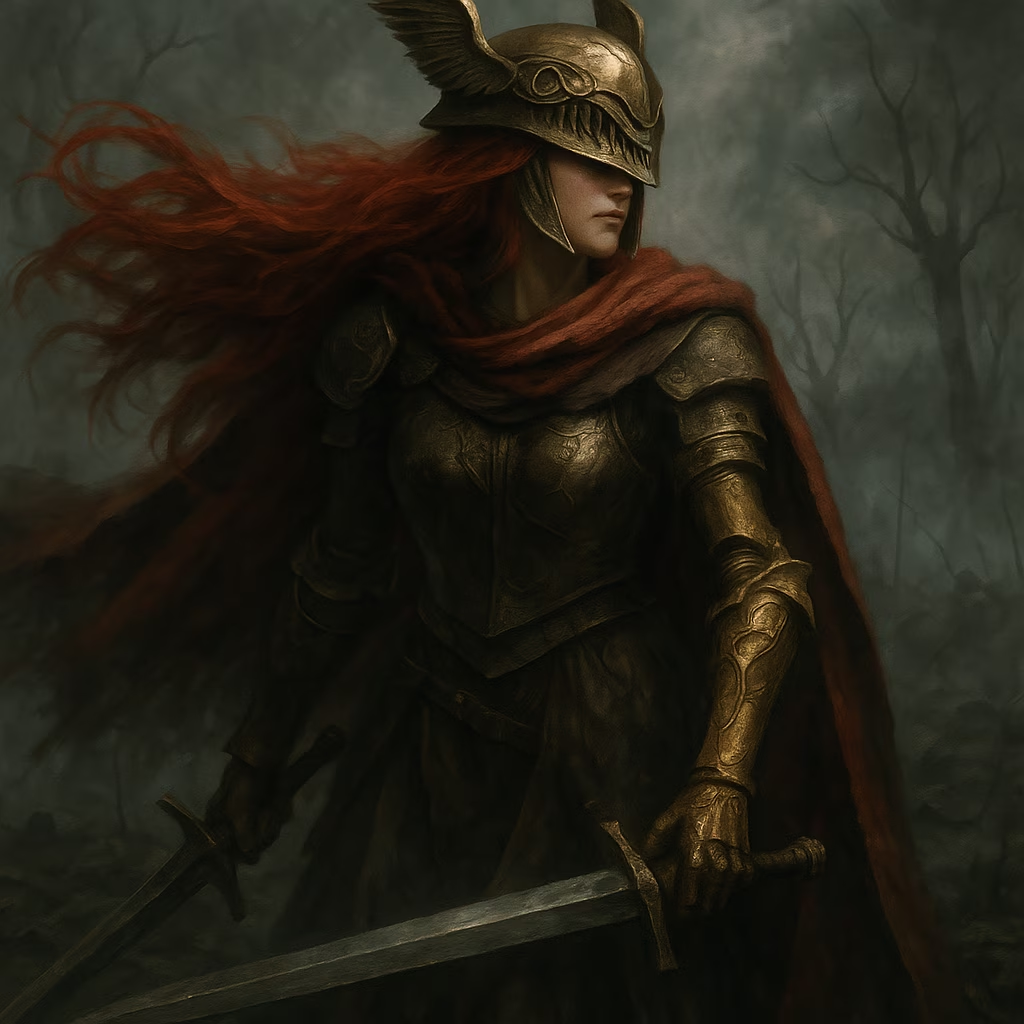
Recluse's Redemption: Nightreign Quest Secrets
The Recluse's journey in Elden Ring Nightreign explores grief and love, transforming boss battles into a deeply personal pilgrimage.
The Recluse's journey in Elden Ring Nightreign isn't just about slaying the Nightlord; it's a deeply personal excavation into grief, betrayal, and a mother's desperate love. Players stepping into her worn boots quickly sense a profound melancholy beneath her quiet exterior. Her quest, fragmented across recovered memories, reveals a soul shattered by loss, fixated on a 'child' seemingly consumed by darkness, and haunted by her complex past with the enigmatic 'Witch of the Wheel'. It’s a story that makes confronting the Nightlord feel intensely personal, transforming the usual boss rush into a poignant pilgrimage. Talk about a motivation that hits right in the feels!
Unearthing the Past: Memory Fragments & Initiating Quests
Progressing the Recluse's story hinges on collecting her Memory Fragments, earned by undertaking Expeditions as her. Each successful return might trigger the 'Memory Fragment Recovered' message. Checking her Journal at the Roundtable Hold becomes essential:
-
Chapter 2 Unlock: Opens the First Remembrance Quest.
-
Chapter 4 Unlock: Opens the Second Remembrance Quest.
-
Chapter 6 Unlock: Opens the crucial Third and Final Remembrance Quest.
Completing all three isn't just for lore – it unlocks her unique, heartbreaking ending path. It feels like piecing together a fragile, stained-glass window depicting her tragedy.
Remembrance Quest 1: Proving Commitment & The Chalice
(Requires Journal Chapter 3)
Doubt begins to fester around the Recluse's resolve. The ever-present Iron Menial, stationed near the Waiting Room, voices his concerns directly. He demands proof:
-
Speak to the Iron Menial near the Waiting Room. He tasks her with proving her commitment.
-
Embark on an Expedition. Hunt the Night-Tainted Golden Hippopotamus (easily spotted by its red map marker!).
-
Defeat it and collect the dropped Night Shard.
-
Return to the Iron Menial and show him the Shard.
-
Keep talking! Eventually, select "I have a favor to ask" to conclude.
Reward: The Recluse's Chalice. This baby packs a punch for relic builds:
| Slot Type | Quantity | Effect |
|---|---|---|
| Yellow | 1 | Customize Yellow affinity effects |
| Green | 1 | Customize Green affinity effects |
| Universal | 1 | Any affinity customization |
This initial quest feels like placating a nervous ally, a small price for his future aid. 
Remembrance Quest 2: Shadows & The Vestige
(Requires Journal Chapter 4)
The Iron Menial, now relocated near the Small Jar Bazaar, has analyzed the Night Shard further. His findings point towards something deeper within the Hold itself:
-
Talk to the Iron Menial near the Small Jar Bazaar repeatedly. He eventually returns the Shard.
-
Head to the room past the Journal location.
-
Examine the strange glowing mark on one of the beds.
-
Acquire the Vestige of Night. The Iron Menial appears, promises to study its engravings, and the quest concludes.
Reward: Unlock the Vestige of Night as a Relic. Its effect is a mage's dream:
-
Creates Terra Magica when the Recluse absorbs affinity residue.
-
Simultaneously raises magic attack power.
Finding that spectral mark… it sent chills down the spine. What lingering sorrow left that imprint?
Remembrance Quest 3: Betrayal, Bones & The Truth
(Requires Journal Chapter 6)
Chapter 6 delivers a bombshell: the Witch of the Wheel lives! This revelation turns the quest, and the player's perception of the Iron Menial, upside down:
-
Go to the Training Ground. Find the Iron Menial sharpening a sword.
-
Attack him! This 'Menial' is an imposter.
-
Upon 'defeat', the Witch of the Wheel reveals herself.
-
Listen to her tale of survival. Ask about the real Iron Menial.
-
She reveals he's hidden in the Crypt. Access it by going to the Visual Codex room, down the stairs, and turning around at the bottom.
-
Find the real Iron Menial in the Crypt. Recalibrate his Magic Root to wake him.
-
Explain the situation. He gratefully drops the Bone-Like Stone.
Reward: The Bone-Like Stone Relic. It's powerful but perilous:
-
When activating her Ultimate Art:
-
Inflicts Blood Loss on the Recluse.
-
Increases Attack Power.
-
Raises Maximum HP.
-
Provides +3 Intelligence.
-
Unmasking the Witch was a genuine 'whoa' moment. That fight in the training ground? Pure tension. And the real Menial's confusion... poor guy.
The Path to a Different Dawn: The Recluse's Ending
Completing all three Remembrance Quests opens a door to a profoundly different conclusion when playing as the Recluse:
-
Reach the final Expedition, Night Aspect, and defeat the Nightlord.
-
Instead of heading to the chamber with the Two Fingers/corpse to offer the Primordial Nightlord's Rune...
-
Go to the bed where you found the Vestige of Night.
-
Interact with the small, child-like entity of darkness lying there.
-
Choose to sit and comfort it. The game ends.
-
After credits, return to that bed in Roundtable Hold for a final encounter with the Witch of the Wheel.
Final Rewards: Unlocks the Recluse's Remembrance Outfit and concludes her tragic saga.
This ending isn't victory; it's acceptance. Choosing solace for the lost child over delivering the rune feels like the only true resolution for the Recluse. It’s quiet, melancholic, and leaves a lingering ache. Was confronting the Nightlord ever truly about defeating him, or was it always about finding this moment of peace? Did the Witch, in her own twisted way, help her old friend find closure? The Hold feels emptier afterward, holding onto the echoes of her sorrow. What price would you pay for that kind of peace?
