Whispers in Greater Churches
Explore Elden Ring Nightreign's Greater Churches, where ancient secrets and epic loot await. Discover boss encounters and strategic tips for your adventure.
As I step into the shadowed expanse of Elden Ring Nightreign, the air hums with ancient secrets, and the Greater Churches rise like sentinels of forgotten lore. On Day One of any expedition, my boots always tread toward these hallowed halls, where runes and resources whisper promises of preparation for the Night Bosses and the ominous Nightlord beyond. Oh, you know what I mean? It's like walking into a dream where every corner holds a challenge or a treasure, and honestly, these churches are a godsend for gathering loot without too much fuss. From the slumbering giants to the trumpeting heralds, each visit etches a story on my soul, leaving echoes that linger long after the battles fade. 🏛️✨
The Four Faces of Sacred Grounds
Greater Churches unfold in four distinct varieties, each tied to their guardian bosses and etched with clues on the map. I've danced through them all, and here’s a quick overview to guide your journey:
| Church Type | Map Symbol | Boss Encounter | Key Loot | Difficulty (1-5 ⭐) |
|---|---|---|---|---|
| Guardian Golem | None | Awakened Golem | Stonesword Key, random consumables | ⭐⭐ |
| Oracle Envoy | Holy Symbol | Cluster of Envoys | Stonesword Key after climbing | ⭐⭐⭐ |
| Mausoleum Knight | Holy or None | Teleporting Knight | Stonesword Key, Sacred Seals | ⭐⭐ |
| Fire Monk | Fire Symbol | Flaming Monk | Stonesword Key, Sacred Seals | ⭐⭐⭐ |
Spotting them? Piece of cake! Look for elemental symbols: a Fire Symbol always means Fire Monk territory, while a Holy Symbol signals Oracle Envoys or Mausoleum Knights. No symbol? It’s a toss-up between Guardian Golem, Mausoleum Knight, or occasionally Oracle Envoy. 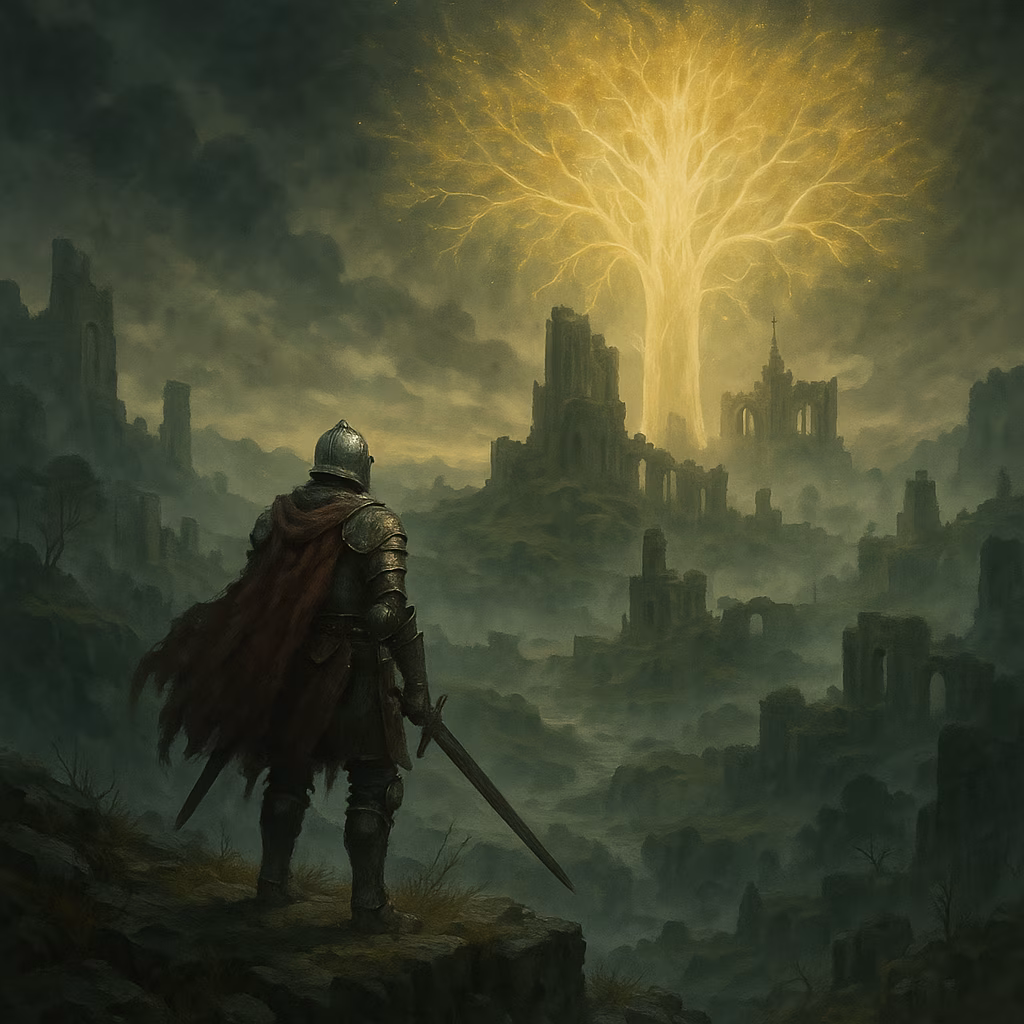 Now, let me weave tales of each, where the walls themselves seem to breathe and the foes... well, they’re characters in their own right.
Guardian Golem: The Slumbering Titan
Approaching this church, misbegotten creatures snarl at the exterior, like grumpy gatekeepers warning of the giant within. Inside, the Guardian Golem lies dormant, a stone behemoth that awakens with a shudder as I draw near—honestly, it’s like waking a grumpy old bear from hibernation! The battle? Keep hacking at its ankles; weapons with good stance damage can topple it, letting me land a critical hit on its chest. Once vanquished, I scurry behind the altar to find a chest often cradling a Stonesword Key. Scattered crates at the edges hold random consumables, perfect for stocking up. It’s straightforward, but oh, the Golem’s slow, lumbering movements remind me of a weary giant stretching after centuries of sleep.
Oracle Envoy: Trumpets and Treachery
The first sign? The blare of trumpets, as Oracle Envoys fill the air with explosive holy bubbles—talk about a noisy welcome! Fast-moving wolves guard the outside, nipping at my heels if I let them swarm; those pups can be a real hassle. Dodging the Envoys’ horn attacks isn’t too tough, though, since they’re frail and easy to pick off. But the real test comes at the altar, where a cluster of large Oracle Envoys gang up, their bubbles and melee strikes packing a punch. After clearing them, I climb the scaffolding behind the altar, a rickety path that leads to more Envoys and, finally, a chest on a ledge. Inside? Usually a Stonesword Key, a sweet reward for all that acrobatic effort. Honestly, it’s like navigating a musical maze where the instruments themselves are out to get you.
Mausoleum Knight: Phantoms in the Depths
Headless Mausoleum Knights haunt this church, vanishing and reappearing like mischievous ghosts—they’re tricky, but vulnerable to lightning. Their low health makes them manageable, though; it’s over before you know it. Behind the altar, a chest typically holds a Stonesword Key, and then I drop through a floor hole into the shadowy basement. There, weapon racks gleam with Sacred Seals, a jackpot for incantation users like me. The boss room below houses a greatshield-wielding knight who teleports to dodge my blows before countering with charging stabs. Dodging through attacks and striking during recovery works wonders; they fall fast, immune to bleed or poison but not to persistence. It’s eerie, like battling echoes in a tomb where every step whispers of the past.
Fire Monk: Flames and Fury
Thorn Sorcerers guard the entrances, their stabs and sorceries easy to dodge if I stay sharp, but the dogs? Ugh, they hound relentlessly—take them out first to avoid distractions. Behind the altar, a chest often yields a Stonesword Key. Then, down the floor hole to the basement, where Sacred Seals await for the taking. The boss, a lone Fire Monk, charges Catch Flame Incantations, poising through my assaults. When I see that buildup, I dodge backward to evade the blast before resuming my onslaught. They swing a Flamemace, sometimes igniting it first with an incantation, so parrying or blocking is key. It’s intense, like dueling a fiery dancer whose every move leaves scorch marks on my memory.
People Also Ask
Curious minds often wonder about these sacred halls—here’s what fellow travelers ask:
-
What’s the easiest Greater Church for beginners? 🤔 Guardian Golem, hands down; ankle attacks make it a breeze.
-
Where can I farm Sacred Seals reliably? ✨ Mausoleum Knight and Fire Monk churches, with their basement weapon racks.
-
How do I dodge Oracle Envoy bubbles without getting overwhelmed? 💥 Roll sideways when the trumpets blare and focus on one Envoy at a time.
A Glimpse into Tomorrow
As I wander these haunted halls, I dream of a future where Greater Churches evolve—perhaps with seasons changing the bosses or new elemental symbols adding layers to the lore. Personally, I ache for a storm-themed church where thunder echoes through rain-soaked stones, offering challenges that test not just my skills but my spirit. Imagine that... a place where every raindrop tells a story, and the loot feels earned in whispers of wind. For now, though, these churches remain, their secrets half-told, inviting us to fill the silence with our own tales. 🌌